Saturday, April 2, 2022

Cleaning out someone else's cabling

So my company is moving our DC office location. We're taking over an excellent space that used to house a startup.  We were able to acquire all of their office furniture and that 's making it relatively easy to move in.  New paint and carpet and then some easy fixes here and there and we're in our new home.

I'm spending a fair bit of time meeting contractors and installers in the new space.  While I'm there I take care of some of the little things that aren't clearly anyone ones job (we're a pretty small part of the company) because we don't have a dedicated facilities management team.  One of the things I've been doing this week is removing a lot of junk cables they left in the main conference room.  

Judging by the mounting brackets and empty boxes I've seen left behind it looks like they home-brewed an A/V setup with Logitech gear.  That I have no problem with.  What I did find troubling is the way they did the cabling. 


In this example they cut the power plug wire and have spliced about 30 feet of copper wire in and did some poor taping jobs connecting them together.  They took the cameras but didn't take the power cords, which I found odd.   Then they took a crapload of USB extenders to run these cameras all around the largest conference room.


I mean I get it, you have to put some USB repeater/extenders in the connection to get them to reach that far. But did you have to do this too?


So there's a power outlet near-ish where there camera was located and they powered the USB repeater with it but not the camera, that they back-hauled to the front of the room by cutting the cord and spicing. 


This little gem was a beauty.  It's hard to see there but the bit that's in my hand is a short C13 to C14 power cord.  They took a significantly long, 10 foot or so NEMA 5-15 plug to C13 cord (the kind you'd plug into a PC power supply or monitor) and then put the C13 to C14 adapter on it and then plugged in an TV power cord.  Baffling.  The also have multiple places where they took lamp extension cords and chained them together to reach where they needed to get power to.

Ok so as I'm taking all this stuff out I'm getting more and more annoyed and the "duct tape and baling wire" level engineering work going on here.  At some point I stopped to think, why am I so bothered by this?  It's getting corrected now, why is it so maddening to me? Because it's me. This is the kind of work I've done in my past. The more I take this stuff out the more I see myself in the choices they made. 

Sunday, February 20, 2022

Crazy keyboard at my library

 This has been bugging me for a while.   At my library you can either type in your library card number, or you can have it associated with a user name which is easier to remember.  I've chosen the user name route because it makes logging into the website easier for me.  So when you go to the actual library and go to enter your account details, it assumes you 're doing a number and presents a typical numeric keypad on the touch screen.  There's an option to get the alpha keyboard, and when you press it this is the keyboard layout you get:


It's the most bizarre thing I've ever seen in a user interface.  I mean the dangling "i" and "=" along with the "R" and "/" row?  Makes little sense.  I could imagine an assumption that a wider screen resolution was used which would make the short rows not wrap around to the next row, but that doesn't fully explain the "=" and "/" being mixed in the middle of the alphabet. 


Monday, November 1, 2021

3d printing a Raspberry Pi "laptop" case

 I had some Pi-3's laying around so I thought I'd try to make one of these from the Adafruit learn program: 

https://learn.adafruit.com/mini-raspberry-pi-handheld-notebook-palmtop

The parts list from the Adafruit site:


The funny thing is this list doesn't include the audio amplifier you need later in the guide.  Oh well.  


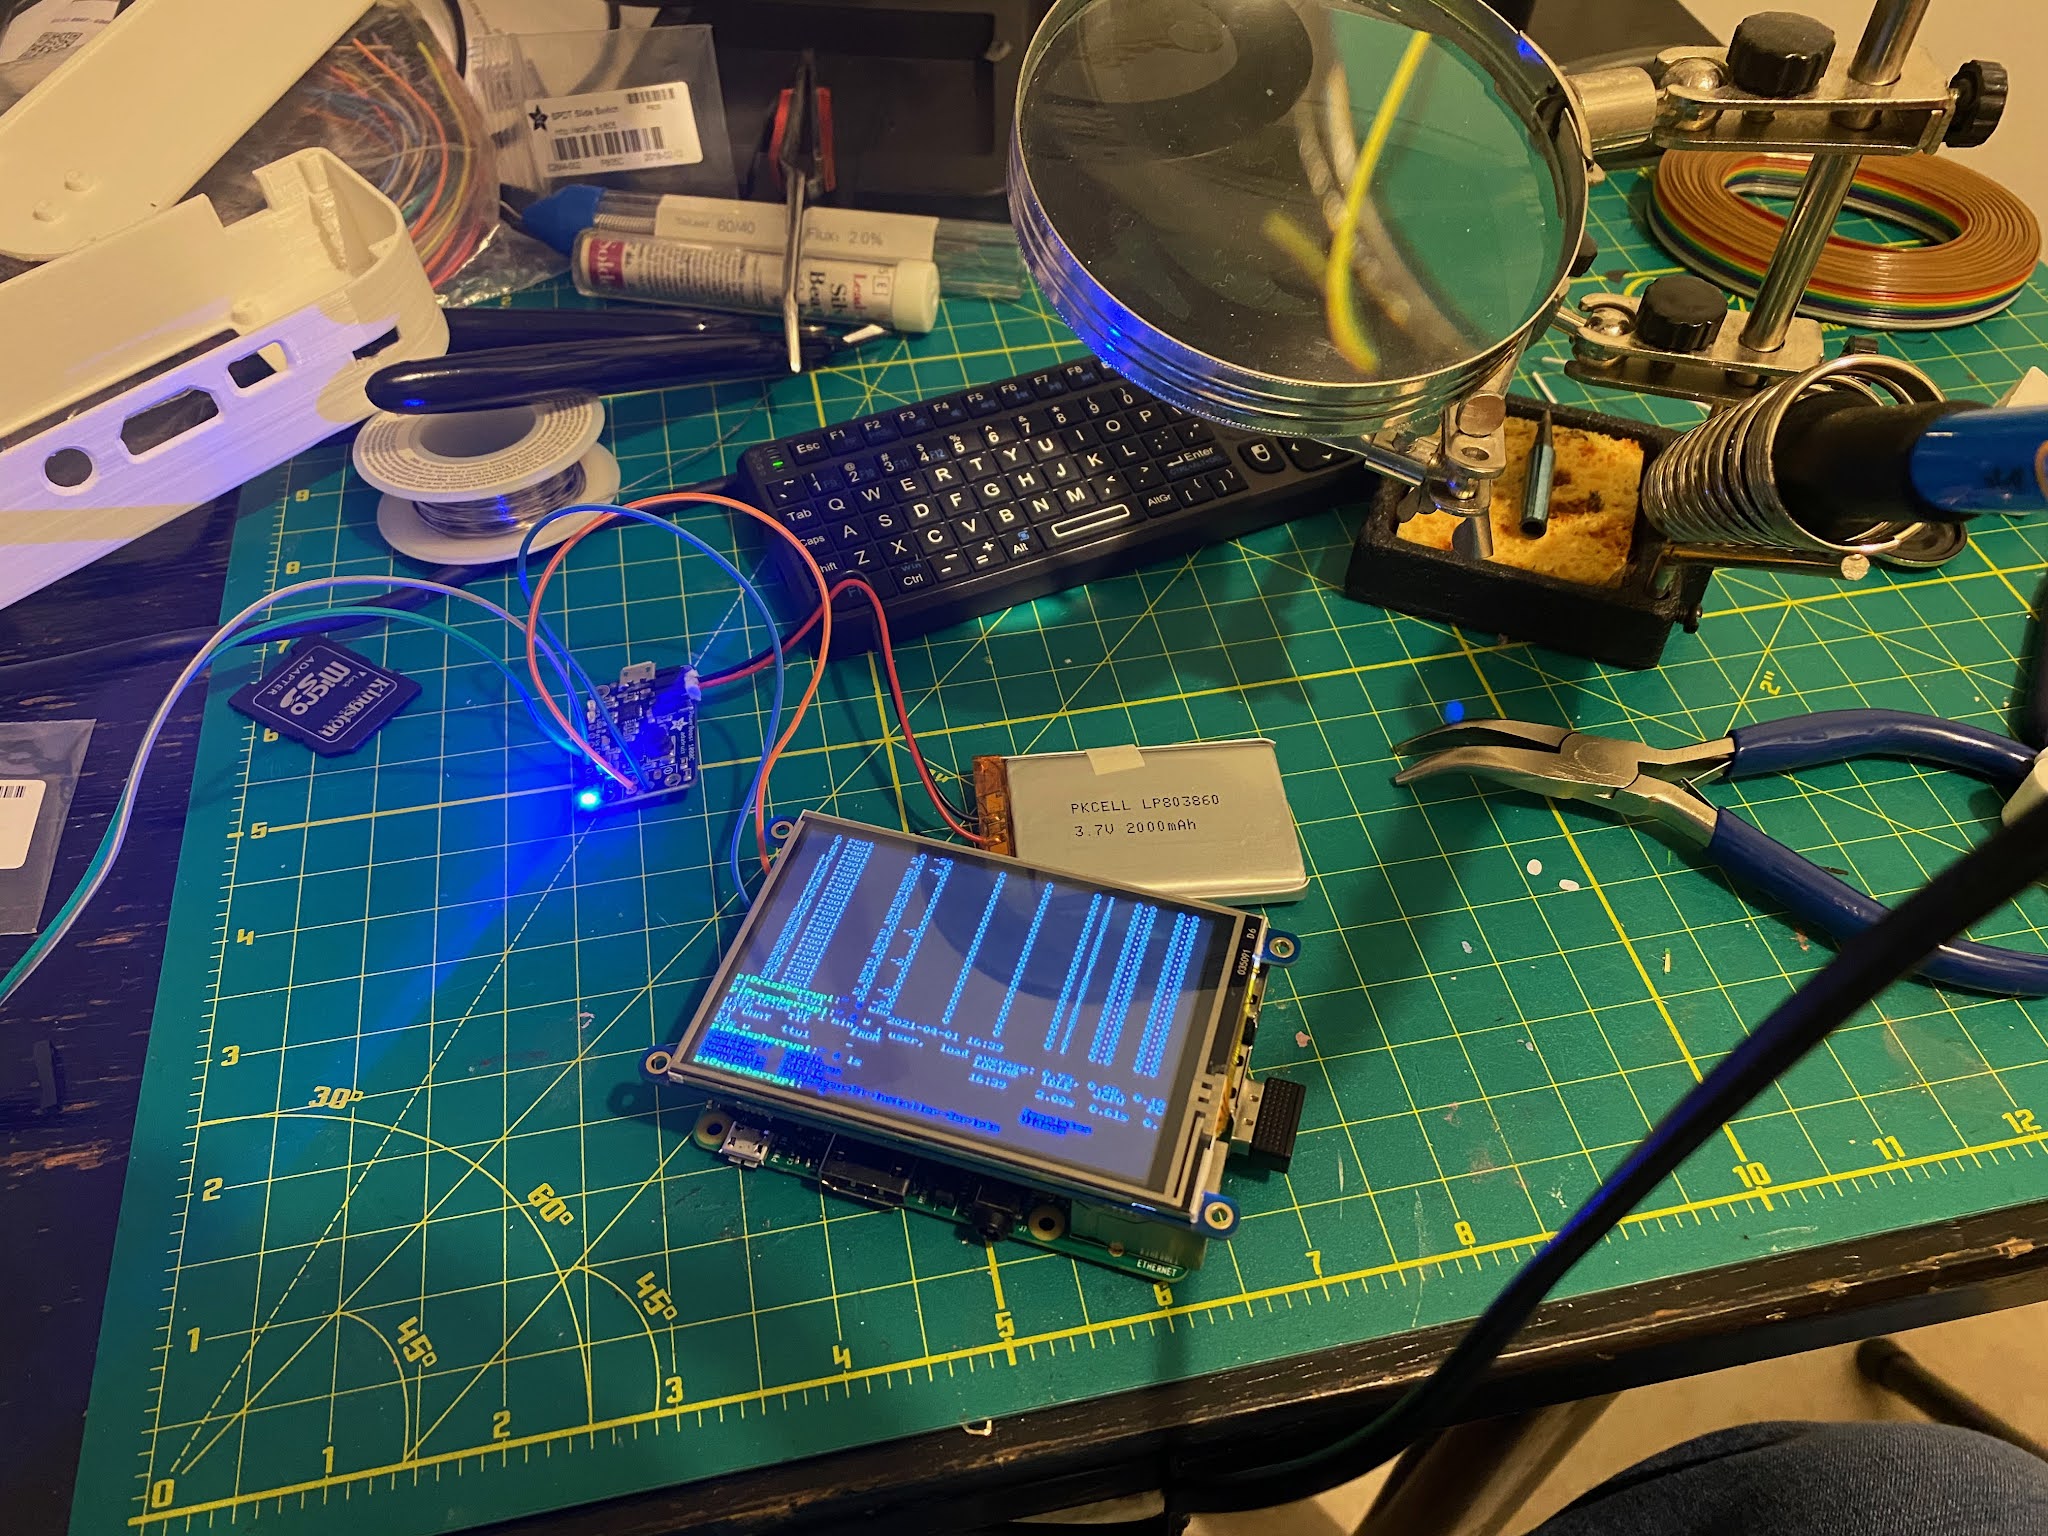
The STL's printed from my PrusaMini as is.  Getting software working and parts connected turned out to pretty easy.  Not simple mind you, but if you follow the steps, it goes pretty well.


The screw holes aren't sized very well, they're a bit too big. - I used my 3d former pen to fill in the holes and then drilled them to the right size.


Took a few tries to get the adafruit software to work the way I wanted it to, but eventually

sudo python3 adafruit-pitft.py --display=35r --rotation=270 --install-type=fbcp

was the trick to get the screen right side up. 


But it works pretty well.  Takes a while to get used to typing on the small screen.  I don't think I have the eye sight needed to run the gui so I won't even try but it's a nifty little toy.

Thursday, September 16, 2021

3d printed mini-printing press

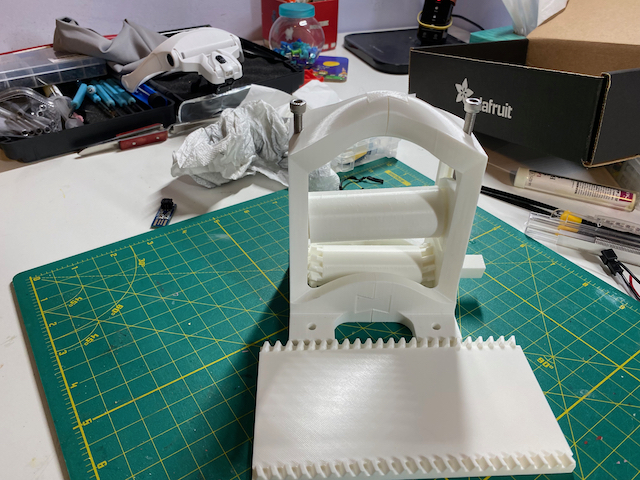
 So my daughter found this site:  openpressproject.com that has a small printing press you can 3d print. So I thought I'd give it a go.  I downloaded the stl's from thingverse sliced it up in PrusaSlicer and loaded up in OctoPrint.  The Prusa Mini did an amazing job with it.  It came out quite well and the tolerances for the gears and parts that slide were amazing.   There's an excellent build guide on makezine that can explain it much better than I ever could.  


Intermediate build pic - testing the fit and meshing of the gears.


The assembled press


Not ambitious enough t make this a GIF but it moves smoothly.


The underside of the printing plate showing the gears

Now I have to wait for my daughter to come home from college to try and make some prints with it.  It won't hold up forever - eventually the PLA plastic will give out and need to be replaced but it should be a simple matter of reprinting the part(s) needed.

Wednesday, September 15, 2021

Kitty Paw toe bean macro pad

 I'm catching up on my tinkering projects.  The latest one: Kitty Toe Bean Keypad with Color TFT.  I forgot to take in-progress pictures but here's the final just before assembly shots.  I 3d printed the parts on my Prusa Mini and they came out excellent. Only some minor looseness in the snap-together parts.  The rest of the parts I ordered from Adafruit.com listed in the build guide. 


Pretty happy with how the qtPy soldering turned out


The Kahil Jade switch wiring isn't great, but it works - you have to solder to a pin/post which requires very steady hands to keep it smooth - I do not have steady hands.


Press fit together.  You can see some of my sloppy soldering on the TFT display.


With the Toe Beans installed.


Here's a video of it in action - the original build guild has a dancing parrot as the image, I swapped out pictures of my cat Lola.  Sorry about the vertical filming I wasn't paying attention. 


All in all a fun project - the buttons do CMD+S (save), CMD+X (cut), CMD+C (copy) and CMD+P (paste).  I'll have to open a thread in the adafruit forums as the overall performance is really slow.  I have to hold the button longer than I would expect for it to take the action.  In the video on the build guide you get the impression that it works much faster/smoother than that.  Probably a wiring issue on my part


Monday, July 19, 2021

printing with PETG in my Prusa Mini


So I bought a low-cost spool of OVERTURE 3D PETG from amazon - it was on sale for $21, so I went for it.  First off, Overture's packaging was good and came with a 20cm x 20cm build surface sticker.  It's too big for the mini, but might come in handy with my MonoPrice printer at the office.  It also came with an overture branded ruler/card type thing that's making a nice bookmark in my Foundation and Empire book.  Trying to read them before the series drops on AppleTV+, but I digress. 

My first print was a small tilt box I found on Thingverse.  It came out really well!


It also came off the bed with out any issue (more on that in a few).  

Next up I wanted to print some buckles that would work with some web strapping I have around the house from a previous halloween costume build.  There were a few out there, but this one on the Prusa Prints gallery was the one I went with.  I printed it twice, with supports both times.  Not sure if I needed them or not, but it looked like some of the spans might be too big to cover with out supports.  They came out great and work pretty well.  I left the straps extra long so I can tie a knot if the buckle fails on me just in case.


The only issue I had was taking the brim and support material off the standard prusa mini bed.  It was stuck on like superglue.  I almost scratched the bed trying to get the excess off.  It took some searching to figure out what was different.  In the tilt box case, I let it run over night and took it off the build plate the next morning.  With the buckles, I was printing them back to back and trying to remove them without letting everything become truly cold.  In the various forums I see all kinds of tips and tricks - glue stick, windex, other release agent kind of stuff.   Then I decided to see what the manual said.  Should have started there in hindsight. 

Heatbed: Various manufacturers suggest using various separation (or adhesive) layers for printing PETG, such as Kapton tape, glue stick, etc. Our print sheets work fine without these separation layers but it’s important to know a few basic rules. First, keep the print surface clean. When printing on a smooth sheet, use a window cleaner instead of isopropyl alcohol. Textured powder-coated sheets can be cleaned with IPA. Once you finish printing, let the print cool before you try to remove it from the sheet. 

And there it is. Let it cool completely before removing.  I will probably try using windex to clean the bed next time instead of the alcohol wipes, but other than that, patients will be my go-to move.

Friday, April 30, 2021

Using my 3d pen to weld parts together

 Ok so I was cleaning out my shelf and found a 3d pen I had from a while back.  I think I got it on Woot.com or something like that for super cheap.  They go on clearance at places like Michaels and JoAnn craft stores as well.  Amazon sells a bunch and recommends this one.  Mine is similar, but I don't think it's manufactured anymore. 

So what I didn't realize when I bought it is it uses the same filament as my 3d printer.  It makes total sense now, but I didn't connect the dots at the time.  I put my 3d printer filament in it and it extruded great! which gave me another idea - could I use it to repair, weld or fill a 3d print.  


The short answer is YES! I took two calibration cubes from my 'stuff I printed but is totally useless' box and tried to weld them together.  It worked pretty good!  I would need a lot of practice to get it smooth and neat, but it does work. I also filled in the X, Y and Z recessed letters to see how that would go and just like the weld, I need to practice and I think go slower - my pen has a variable feed rate to help this. I think it'll come in handy for some very specific use cases.


Anyway if you have a 3d print that you want to melt a little more filament onto for repair or aesthetic reasons, these 3d printing pens are a fun and relatively cheap way to go.