So the other day I was trying to print this nifty funnel for Mokka pots - Mokka Pot Buddy from printables.com. It's a fairly simple design, has multiple uses and stores in the mokka pot.
I just tossed it into BambuStudio, sliced the plate and hit print.
I mean it looks pretty straight forward what could go wrong?
Plenty it turns out. The bed adhesion wasn't good enough and the print came loose and stuck to the nozzle - much worse than getting spaghetti but at least this time it didn't consume the nozzle entirely like it did in my worst print failure I've ever had. It separated from the nozzle relatively cleanly - I had to scrape some extra gunk off and it had some extrusion issues on my next attempt but shortly thereafter it was back to normal.
Turns out I didn't look at the sliced file and I should have. If you look at the first few lines of the sliced file, you see that there are only two walls of filament touching the bed. None of the inner parts, they're floating above the bed.
So as we get taller the forces exerted on that thin connection with the bed just lets go. By turning on supports the print was able to come out just fine. Lesson learned - check how much of the print is actually touching the bed.
I especially love well run and smooth riding trains.
So here's another comparison video. A few years back I had a post about the Shinkansen in Japan.
So here's the video:
We were going 152 MPH in this video, routinely ran at 168 MPH and was just as smooth. I was curious why 168MPH - seemed like a weird speed but turns out it's 270 KPH so it's a nice round number in metric. (obligatory screen shot of speed app on phone) - Also sorry about the cough in the video.
The trains have very cool looking color schemes (livery is the word for that in the train world right?)
Anyway - 10 out of 10 would recommend Spanish Rail - Renfe - as a mode of travel in Spain.
Every once and a while a print goes wrong and turns into a piece of art unto itself.
This is the print I'm trying to slice and print. Nothing too crazy about it, except there isn't a lot of bed adhesion. Add to that PETG's tendency to clump and string when not perfectly dry and you've got a recipe for a failed print.
The print looked kinda neat once I took it off the plate though.
I'll never make any money as a blogger. Its never my goal or objective mind you, but it's abundantly clear to me that I could never make a living as a writer. I just don't do it consistently enough. These posts are mostly to gather and record my thoughts so I can remember later in life.
So I used NeoPixels to light my Christmas tree a 2022. I put a post up about it when I was getting started and never followed up. A lot like my photography posts. Oh well. The original post:
So I started to get it working quite well and had the tree wired up for the season. I never went on to build the web front end so I could change the lights remotely. Maybe in a future try.
I even had enough lights left over to wire the tree in our office:
In both cases I'm running the color wheel code example from the MIT project. I did make some that did alternate pattersn - like alternating red and green, sparkle/flashes, even did some hand mapping to do it by rows. All the code is in my XmasTreeLights github repo. In general it would be better to start with the Matt Parker code, the MIT code or AdaFruit's neopixel tutorials.
For last christmas, on a whim I decided to print a BBr2 (BaByR2) from a patreon I subscribe to: Michael Baddeley (I'm also printing a full size R2, more on that in another post).
So I sold all my camera gear and used the money to buy a BambuLabs P1S with AMS filament changer. It is an excellent printer. If you can afford one, get one. Even the P1P would be a great printer to get. Speed and quality in a single package that isn't "Prusa" expensive.
The body came out great on the first try.
The dome prints very well without supports.
Printed two legs, some tires and a center foot and it was time to assemble.
It's a very easy print and pretty easy to assemble with some screws and superglue. It takes 3 servo motors and somethign to control them. Since this was my first attempt I went simple with a FlySky FS-I6 from amazon.
I initially printed the oversized "cartoonish" dome. I just picked the default dome from the file list. After gluing and assembling I wired it up to an adafruit crickit to test the dome. Adafruit makes it super easy to control servos, especially when you're just testing things out.
I later found the holiday themed dome. I had some red filament laying around from a previous project idea so it seems a perfect time to test out the AMS. Turned out excellent! I bought some "metalic" paint markers from a craft store and started coloring the white in.
*EDIT/UPDATE* - found the time lapse footage for the Santa hat print:
The AMS does create a lot of waste with the filament changes however:
Later I went back and printed a classic dome in gray PLA and colored it in (still have some more to do)
Super fun project, glad I spent the time on it. Wish I had better hand/eye coordination to paint it better.
Catching up on my posting - last year I printed myself a Bowcaster for my Chewbacca costume.
The costume was pretty simple. It started with a onesie I bought at target a while back on a whim. I added the talking Chewbacca mask and it was pretty much done. All I needed was the bowcaster.
Anyway was off and printing on my new Ender-3 Max Neo 3D Printer. I don't think I mentioned that yet - should probably post about it too. I bought it because I wanted the large build area 300x300 and the NEO line with the SonicPad was supposed to be a game changer. Meh. It prints.
The parts all came out pretty good.
Next came all the gluing. So. Much. Gluing. It went together pretty well. The polarizers (the balls on the end) are a bit heavy for how thick the actual bows are. I managed drop it and break them off more than once.
One of the tricks I tried in this build was to use UV Resin from my resin printer to fill in the layer lines. It's very effective but smells pretty bad when you cure it with the UV flashlight.
fully assembled! (It did drive me to drink. A little Smith and Cross rum there on the table).
One of the resin printed lenses cracked when I took it off the plate. I left it as is for "authentic battle damage!"
Primed. I later used rattle-can gloss black and then some Rub and Buff silver to to make it look metalic. Came out good enough for me.
Lots of lessons learned, could do a lot better if I did it all over again. Now I just need a place to store this bad boy.
The single feather requires a lot less room than the stacked feather and prop maker feather wing. I was able to re-use the blade and neopixel strip from the first build. So I only had to get the prop maker rp2040 and the speaker.
It worked pretty good straight away
The odd lighting at the end of the saber is from the code not being configured with the right pixel count.
So our Cricut Maker hit the same rubber roller problem that everyone else who seems to own one of these hits eventually. If you google around for it you can see how often this occurs. Basically the material the rollers are made of deteriorates and starts to come out of the slots etched in the roller and gets pinched in the casing. It also will prevent the cutter mat from feeding correctly.
New rollers are easy enough to acquire. You can 3d print them in TPU or buy them from Amazon. Installing them is the tricky part. There are a bunch of Youtube videos on how to do it so I won't write my own. The trick is the first set of screws. There is a plate on the hinge of the cover plate that needs to be pried off so you can remove the screws. The issue is it seems they glue this piece in place now, making it all-but impossible to service this machine.
I was able to pry it off enough to get the screws out but there are now hairline cracks in the bracket. I used super glue to add some amount of strength to the cracked surface and am hoping for the best. The unit does cut now correctly so that part was a success.
It's really unfortunate that the Cricut company has made these units so unserviceable. They could have done a lot to make the device repairable. The closed software ecosystem is also a major drawback to this device. I think if I had the purchase to do all over again I'd probably go with a Brother unit or some other non-closed system.
A few days ago I went to a play at Woolly Mammoth Theatre Company It was a one mane show called Just For Us by Alex Edelman. Good show, enjoyed myself. That's not what this is about though. it's about the bathroom stall doors:
If you saw that door handle, what would you assume?
I assumed that it was vacant via the green indicator - which was correct.
I assumed I should put my fingers under the lip and pull the door open. It didn't move. I went to the next stall that was green. Wouldn't open. Then I tried to push the door and it opened.
Human factors and ergonomics (commonly referred to as human factors) is the application of psychological and physiological principles to the engineering and design of products, processes, and systems. Four primary goals of human factors learning are to reduce human error, increase productivity, and enhance safety, system availability, and comfort with a specific focus on the interaction between the human and the engineered system.
Not sure this succeeded on the human error front. There isn't a visual indicator to tell me to push. I can contrive a scenario where someone is assisting someone and needs to pull the door shut and therefor needs the pull handle but I'm not sure that was the rationale there.
On a plus side, there are no gendered bathrooms at this theater. A trend I hope spreads. Full floor to ceiling stalls where everyone gets privacy. It just seems like a more efficient use of limited plumbing space. One line for everyone.
It looks like I was printing grapes or corn smut (the fungus use of the word smut that's a google images search). The print must failed fairly early in the job and enveloped the entire print head and heat block. Luckily it didn't block the cooling fan.
Initially I tried heating the nozzle to see if it might pull of somehow but it was wrapped around too tightly. it got loose and I could wiggle it but not much more. Next I tried my heat gun. That was effective on softening the blobs but it was also softening the 3d printed parts of the print head carriage. Yikes!
The thing that ended up working is putting a blade shaped tip on my soldering iron and essentially cutting my into the blobs and hacking it off piece by piece. I was able to get the majority of the large pieces off that way. After quite a bit of work I got it down to this:
It took a little bit more work but eventually I got all the chunks off and out. At this stage you can see the next problem. The heater block should be shiny metal instead of goopy plastic. Because it was so enveloped in the plastic the interior of the blob was quite liquid as the heat couldn't dissipate quickly. The interior plastic was able to seep inside the slot for the heat cartridge (and maybe the thermistor). The end result is the print head can't reach operating temperature now. It maxes out at around 170 degrees. So either there's an insulating layer preventing the block heating up all the way or a layer preventing the thermistor reading correctly. Either way it doesn't work anymore. So I've bought a new set of parts direct from Prusa and will be replacing the head end and what ever brackets have to be swapped out as well.
This all started with the video by Matt Parker from @standupmaths He had a super cool Christmas Tree lights idea: I wired my tree with 500 LED lights and calculated their 3D coordinates.Pretty much like it sounds, he put neopixels on his tree and figured out a way to calculate their array position in 3d space. Kind of like stringing a measuring tape on your tree and knowing where every inch is relative to each other when looking at a single side. He then made a way for people to upload their own animations to his tree (I'll be skipping that part).
Anyway this is my hack at the same idea stealing everything from Mr Parker and the MIT students who helped him. Check out the links in his video description for more details. It's pretty neat, both the math of it and the execution.
So here's what I used:
First, I'm using the same lights that Matt linked to in his video. (affiliate links because Amazon has a handy tool bar to make short URLs) https://amzn.to/3AcK3yj - ALITOVE WS2811 RGB LED Pixels Light Individually Addressable 12mm Diffused Digital Full Color LED
I already had a Raspberry Pi 3 laying around:
rwhiffen@raspberrypi:~/prog/XmasTreeLights $ more /sys/firmware/devicetree/base/model
Raspberry Pi 3 Model B Rev 1.2
rwhiffen@raspberrypi:~/prog/XmasTreeLights $
I boought this 10A 5v power supply that came up as a *Products related to this item* suggestion. https://amzn.to/3g0u67x - Aclorol 5V 10A 50W Power Supply 100V-240V AC to DC Adapter 5V 10 amp Switching Converter 5.5x2.1mm Plug for WS2811 WS2812B WS2813 5V LED Strip Pixel Lights
The other stuff I had lying around from other projects, like gator clips with breadboard pins etc.
Here's a few of links that taught me how to do this. Sites that I mimicked the results of may be a better description than this post.
* There were a bunch of other pages I referenced while trying to debug what was going wrong with my setup.
This did not start out well. Initially I couldn't get the pixes to light up correctly.
First - most the LEDs wouldn't light up. Second the colors were off and they'd flicker and blink oddly. I had also incorrectly wired the pins at some point - now I'm not sure if I fried something. There are 10 of these 50-light strings so tired another one - same results.
Colors were still wrong, but it works. First up - to fix the colors I had to set the pixel_order parameter when creating the new strip in the code. If you read the @StandUpMaths code you'll see a comment about these particular strips be GreenRedBlue - GRB instead of RGB The example code I was using had this line:
And that got the strips working, so now I knew it was something with my Raspberry Pi not the lights. A little more searching and I discovered a post where someone mentioned moving off of the default GPIO 18 pin and onto 21 - so I set:
pixel_pin = board.D21
and it's started working! I can address each pixel and do the expected neopixel operations!
Next I wired up five of the 50-pixel strings and hit my next snag - the 10Amp power supply I have isn't quite enough to light all the pixels. So it's back to Amazon for a bigger power supply (and 500 more LEDs while I'm at it).
My friend Mike posted an etsy link to a Tic-Tac gun for sale on his facebook page. I looked at it and realized I had seen it before on thingverse. So I went and looked it up and decided to make one. The version I printed is here: TTG2 Elite - they sell pre-printed versions at their etsy store
The print is pretty straight forward - I did 0.2mm precision - it may do better with finer detail, but I didn't want to spend the time not knowing how it would turn out.
The two sides came out very clean.
The test fit was excellent. Made me regret not doing finer detail for a smoother print.
Assembled and loaded:
I had the M3 20mm screws and nuts already on hand. I ordered the 6mm springs recommended from the thingverse page. Did have one printing defect with the overall build. The screw for just above the trigger didn't seat deep enough so I was unable to thread the nut on the other side, so there's one screw thats a 25mm instead. So the gun doesn't lay flat if you set it on that side. It would be easy to fix with a soldering iron to melt the hole a bit. I may yet do that before I send it off to my buddy Mike.
As you can see in the test fire, it doesn't quite launch them as well as you'd hope. I suspect there's 3 things at play here #1 the catch that holds the tic tac in place is restricting the mint from exiting while the bolt is trying to push it. #2 my print didn't come out quite smooth enough to allow the bolt to slide well. #3 the entire thing is meant to be printed with PETG not PLA. I'll try to reprint in PETG if I have the filament and time. The bolt sled might be improved with some silicon lube on the bolt slide. Not sure what to do about the latch that keeps the tic tacs from falling out - Pulling the trigger faster/harder helps
So I buy a lot of gadgets because I think they're cool. This year I bought a USB Snake Inspection Camera, I had originally intended to find a leak under one of our bathrooms but that didn't go well at all and was pretty much a bust. Ended up having to cut a big hole in a wall and find it the old fashion way.
But this past weekend I found another opportunity and the camera came up big. The new Airpod 3's from apple aren't great compared to the previous generation in my opinion. The Sound is way way better. I love what I'm hearing compared to the previous ones. Because they shortened the little stick coming out and made the part that goes in your ear bigger, they're more awkward to handle. Especially if you're used to the previous ones which are more svelte. Anyway the smaller "stick" means its easier to miss the hole on the charging case. Which means you can fumble them. And if you're sitting in the back seat of a car with bench seats, it can go down the hole for the seatbelts.
Hard to find things that go down the seatbelt hole. Unless... Unless you like to accumulate gadgets and have a snake camera!
I thought I found it right away, but turns out that's just a piece of bright foam from the seat. But further down I found the unmistakable "L" of the left airpod.
And all the crumbs and stuff that have fallen under there. Yuck. Anyway, USB snake camera saves the day. It had gotten kinda "up and under" the seat brackets so you could not see it without the camera. Additionally the silver sheet metal behind it made it even harder to see.
The moral I take away from this story: Buy more fun gadgets. Just in case.
So my company is moving our DC office location. We're taking over an excellent space that used to house a startup. We were able to acquire all of their office furniture and that 's making it relatively easy to move in. New paint and carpet and then some easy fixes here and there and we're in our new home.
I'm spending a fair bit of time meeting contractors and installers in the new space. While I'm there I take care of some of the little things that aren't clearly anyone ones job (we're a pretty small part of the company) because we don't have a dedicated facilities management team. One of the things I've been doing this week is removing a lot of junk cables they left in the main conference room.
Judging by the mounting brackets and empty boxes I've seen left behind it looks like they home-brewed an A/V setup with Logitech gear. That I have no problem with. What I did find troubling is the way they did the cabling.
In this example they cut the power plug wire and have spliced about 30 feet of copper wire in and did some poor taping jobs connecting them together. They took the cameras but didn't take the power cords, which I found odd. Then they took a crapload of USB extenders to run these cameras all around the largest conference room.
I mean I get it, you have to put some USB repeater/extenders in the connection to get them to reach that far. But did you have to do this too?
So there's a power outlet near-ish where there camera was located and they powered the USB repeater with it but not the camera, that they back-hauled to the front of the room by cutting the cord and spicing.
This little gem was a beauty. It's hard to see there but the bit that's in my hand is a short C13 to C14 power cord. They took a significantly long, 10 foot or so NEMA 5-15 plug to C13 cord (the kind you'd plug into a PC power supply or monitor) and then put the C13 to C14 adapter on it and then plugged in an TV power cord. Baffling. The also have multiple places where they took lamp extension cords and chained them together to reach where they needed to get power to.
Ok so as I'm taking all this stuff out I'm getting more and more annoyed and the "duct tape and baling wire" level engineering work going on here. At some point I stopped to think, why am I so bothered by this? It's getting corrected now, why is it so maddening to me? Because it's me. This is the kind of work I've done in my past. The more I take this stuff out the more I see myself in the choices they made.
This has been bugging me for a while. At my library you can either type in your library card number, or you can have it associated with a user name which is easier to remember. I've chosen the user name route because it makes logging into the website easier for me. So when you go to the actual library and go to enter your account details, it assumes you 're doing a number and presents a typical numeric keypad on the touch screen. There's an option to get the alpha keyboard, and when you press it this is the keyboard layout you get:
It's the most bizarre thing I've ever seen in a user interface. I mean the dangling "i" and "=" along with the "R" and "/" row? Makes little sense. I could imagine an assumption that a wider screen resolution was used which would make the short rows not wrap around to the next row, but that doesn't fully explain the "=" and "/" being mixed in the middle of the alphabet.
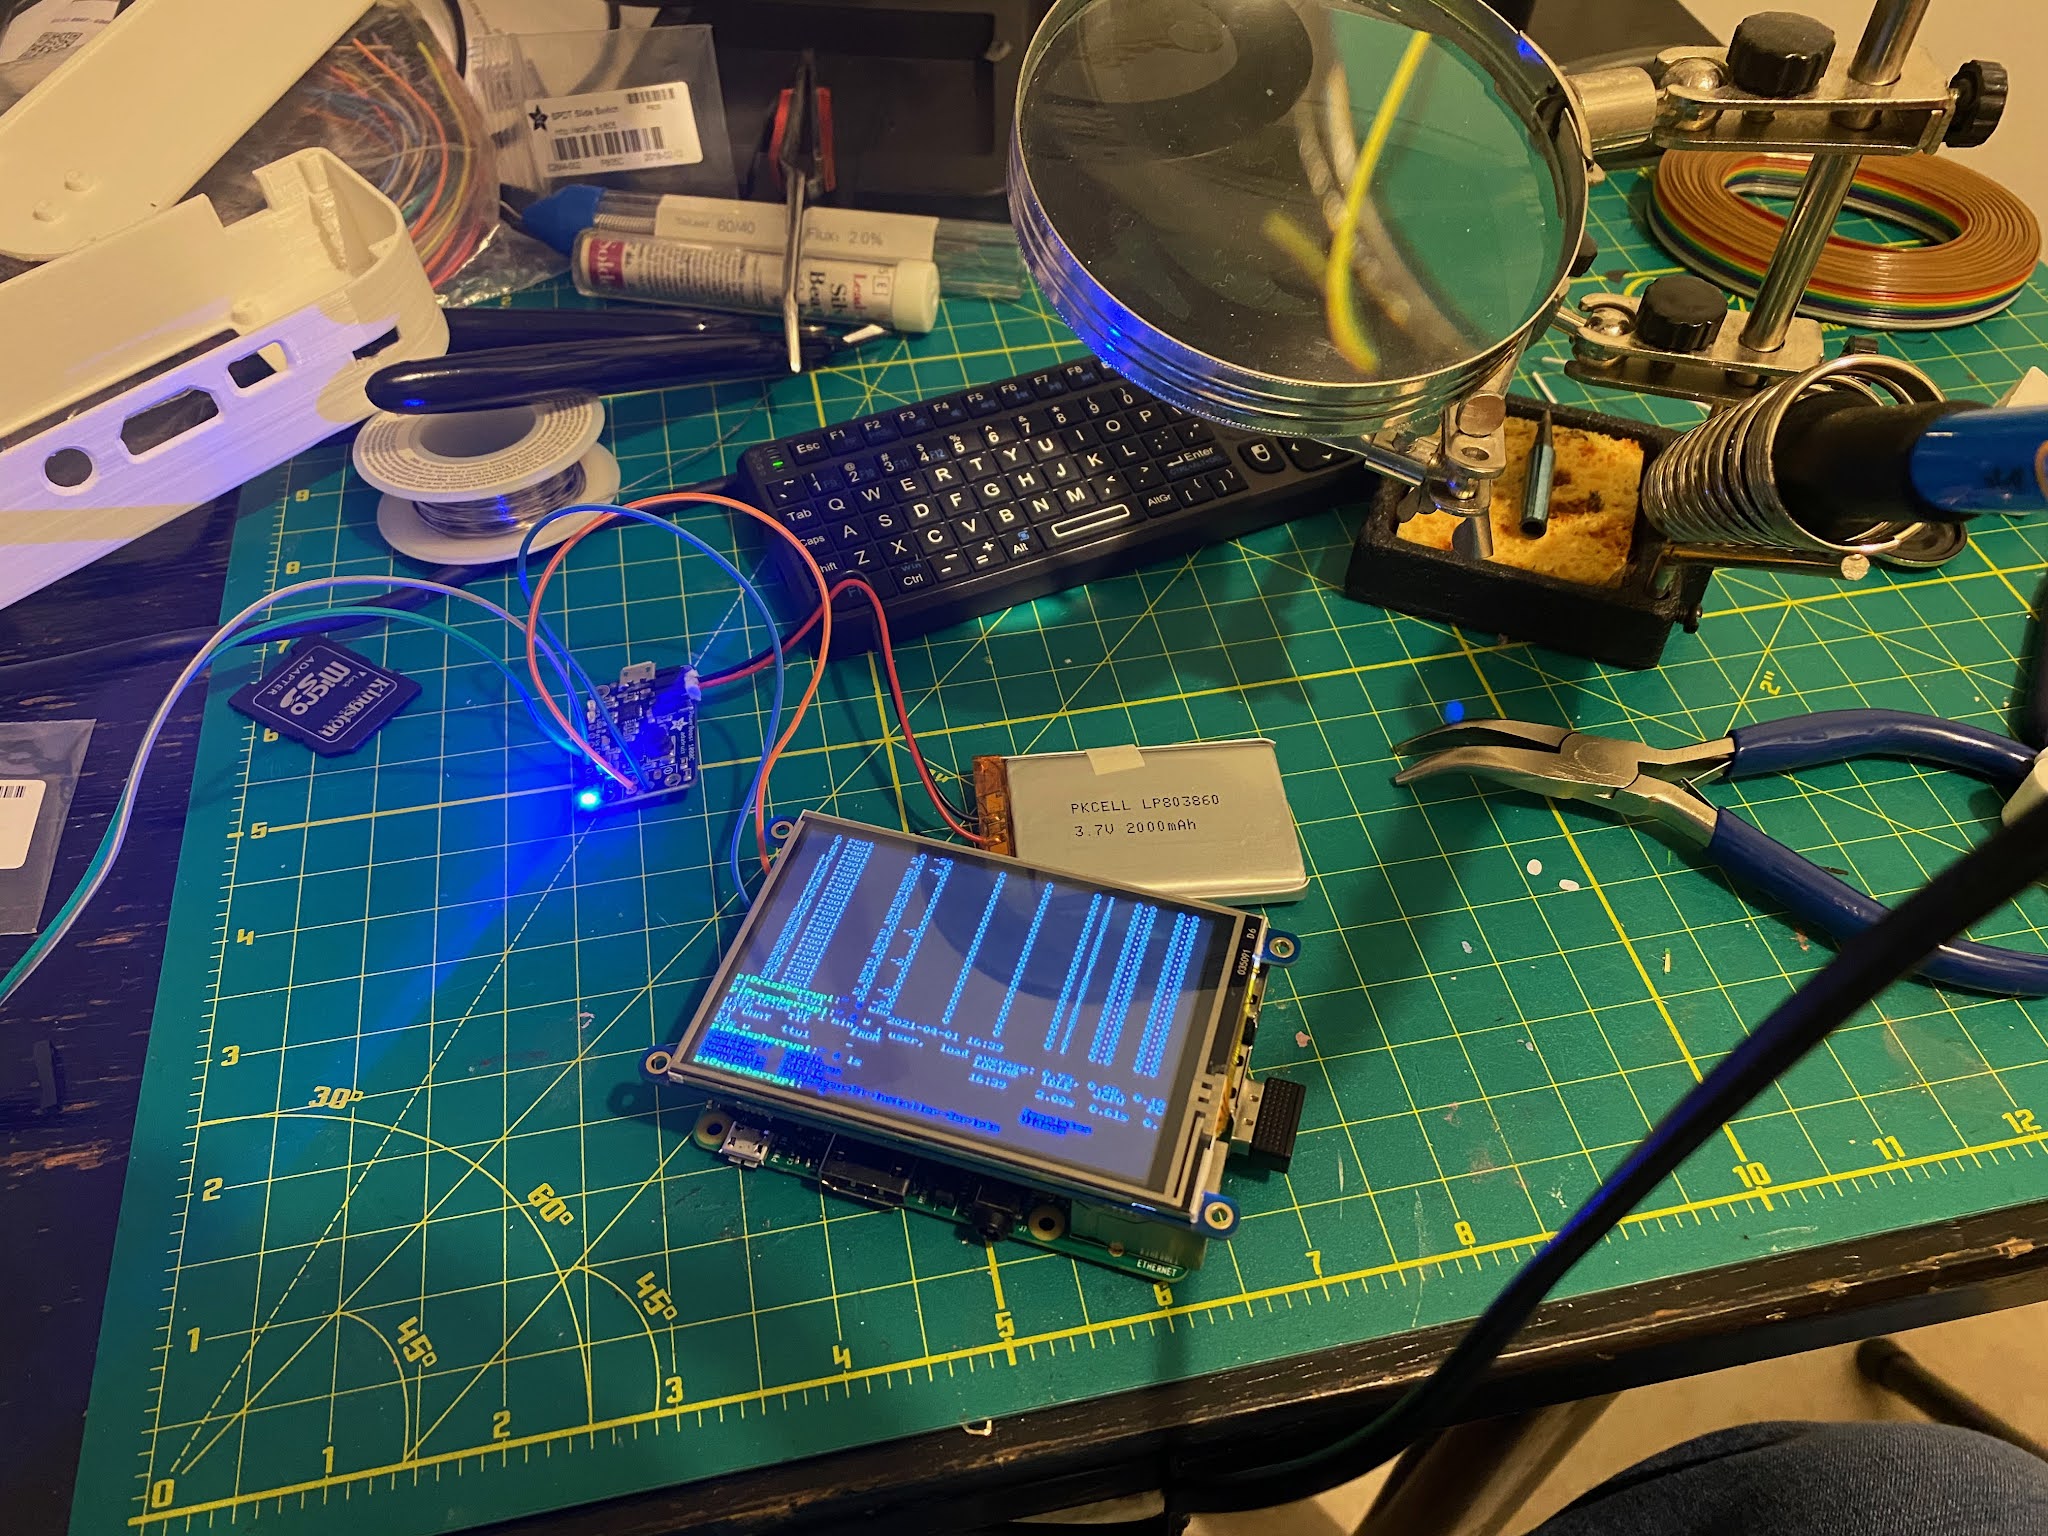
The funny thing is this list doesn't include the audio amplifier you need later in the guide. Oh well.
The STL's printed from my PrusaMini as is. Getting software working and parts connected turned out to pretty easy. Not simple mind you, but if you follow the steps, it goes pretty well.
The screw holes aren't sized very well, they're a bit too big. - I used my 3d former pen to fill in the holes and then drilled them to the right size.
Took a few tries to get the adafruit software to work the way I wanted it to, but eventually
But it works pretty well. Takes a while to get used to typing on the small screen. I don't think I have the eye sight needed to run the gui so I won't even try but it's a nifty little toy.


.jpeg)